Phone Lists and Directories
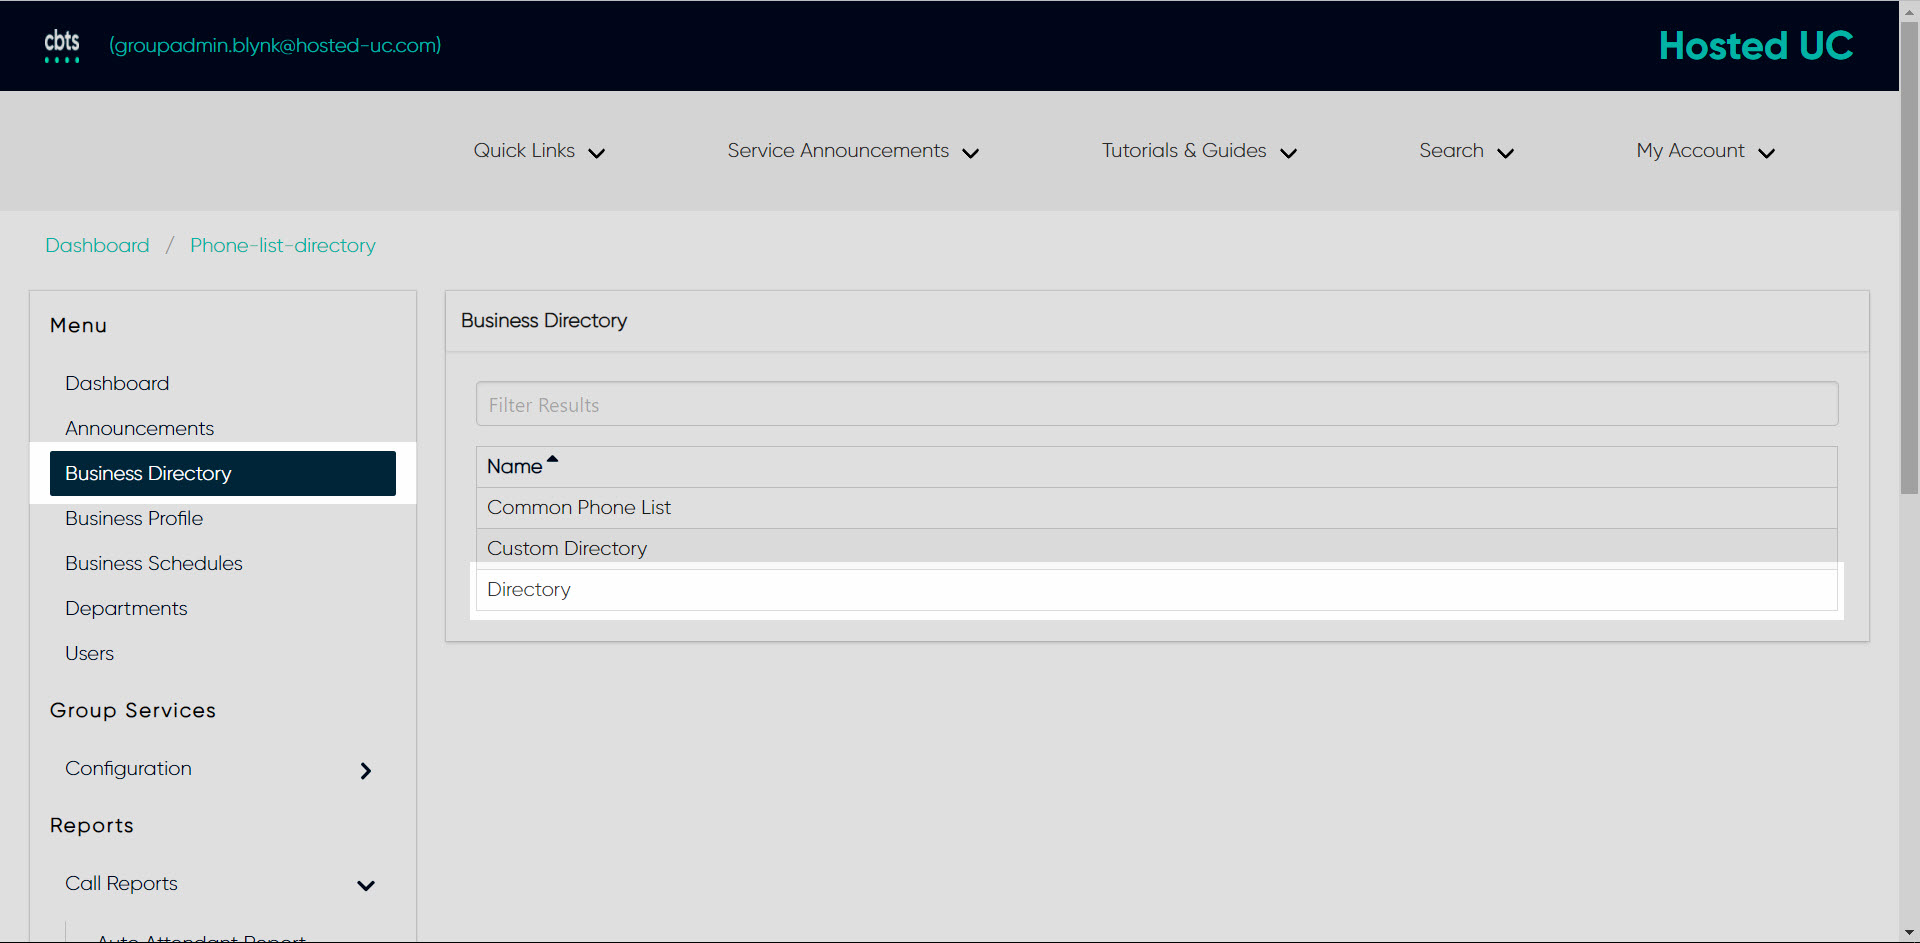
Administrators can create and modify phone lists and directories within the admin portal. There are three types of phone lists/directories that administrators can view and/or manage within the admin portal:
- Common Phone List - Display or modify common group phone lists.
- Custom Directory - Define new custom contact directories that contain a subset of users in the group or enterprise.
- Directory - Display the enterprise directory list.
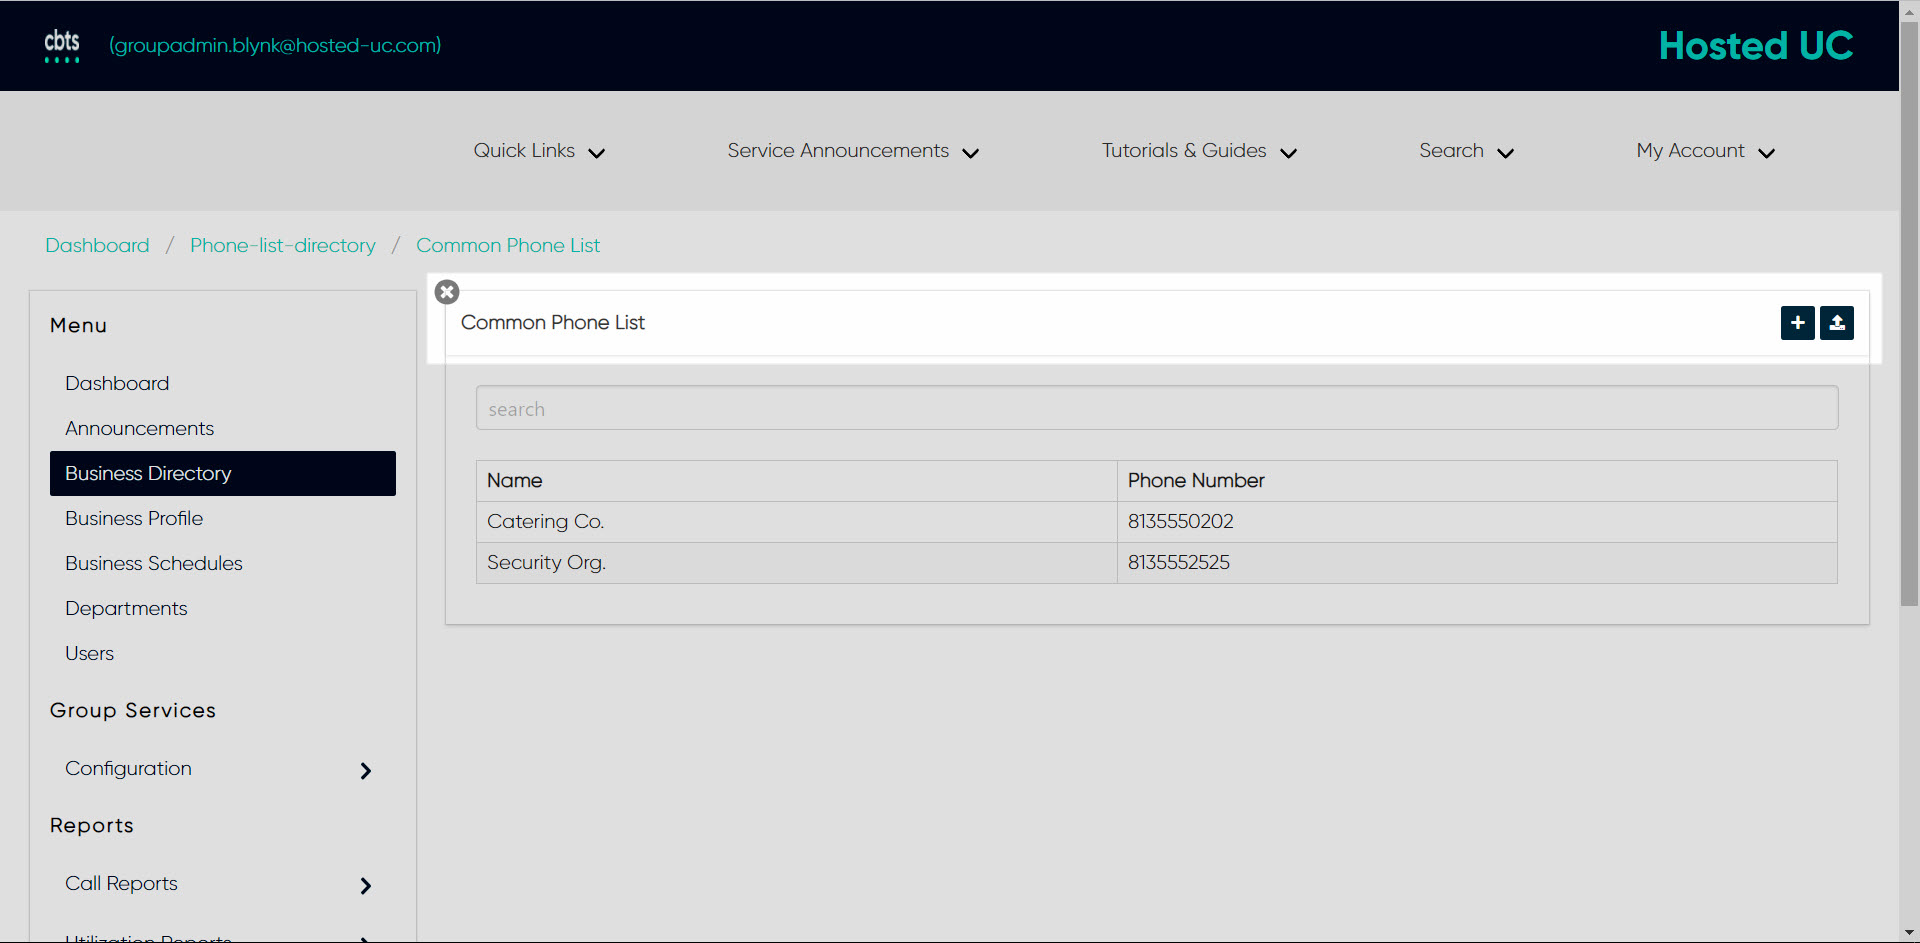
Common Phone List
This used to manage the group's shared phone list. This list is useful for including numbers frequently called by the group, such as a security company, company caterer, or a company day care center. Administrators can use the admin portal to view, modify, and/or download a common phone list.
- From the group dashboard, select Business Directory.
- Select Common Phone List.
- To add a contact to the common phone list, select the Plus icon.
- Enter the Name and Phone Number.
- Select Save to add the contact.
- To modify a contact, click the contact and modify, as needed.
- Select Save to save your changes.
- To download a CSV file of this list, select the Download icon in the upper right corner.


Custom Directory
On the Custom Directories page, you can create a new custom contact directory and manage existing custom contact directories. The custom contact directories can be read by all users in the group.
Note: If your group has more than 1000 users, an error message will display at the top of the screen, as a warning.
- From the group dashboard, select Business Directory.
- Select Custom Directory.
- To add a new custom directory, select the Plus icon.
- Enter the Name for the directory.
- Then select from the Available list. Click the contact to move it to the Selected list.
- Select Save to save your changes.
- To modify an existing custom directory, select the directory you would like to modify.
- Make your changes and a select Save.


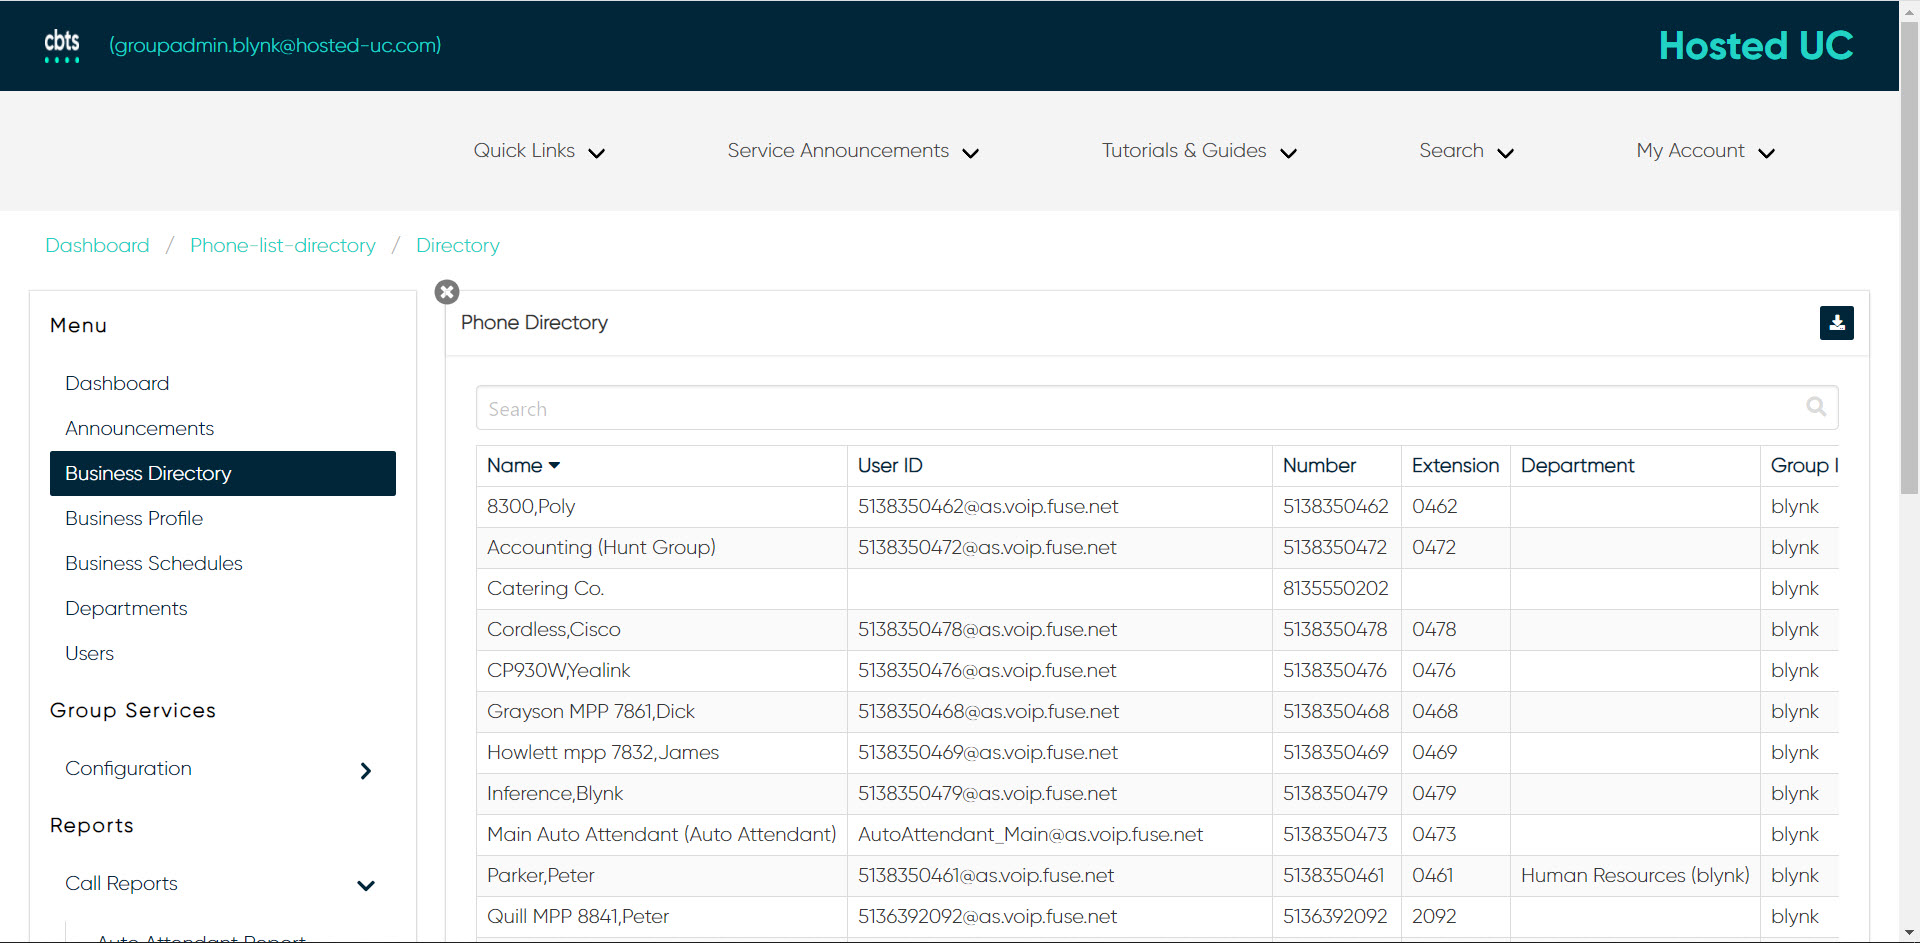
Directory
On the Directory page you can view, sort, search, and export/download your organization’s directory.
- From the group dashboard, select Business Directory.
- Select Directory.
- Here is a list of all of the numbers assigned to the group.
- To search, use the Search bar.
- To filter, click the column to sort by.
- To download a CSV file of the directory, select the Download icon in the upper right corner.