
Schedules
Schedules are used to support group services (e.g. auto attendants and call queues). A schedule establishes a set of time slots in which a feature can execute specific behavior. They are used to route incoming calls based on the day of the week and/or time of day.
Schedules are classified as either Time or Holiday. A Time schedule is typically a schedule that defines the days and hours your office is taking phone calls, and a Holiday schedule is a schedule that defines the days your office is closed or not taking calls.
Administrators can view, modify, add and remove schedules within the admin portal.
Add an Schedule
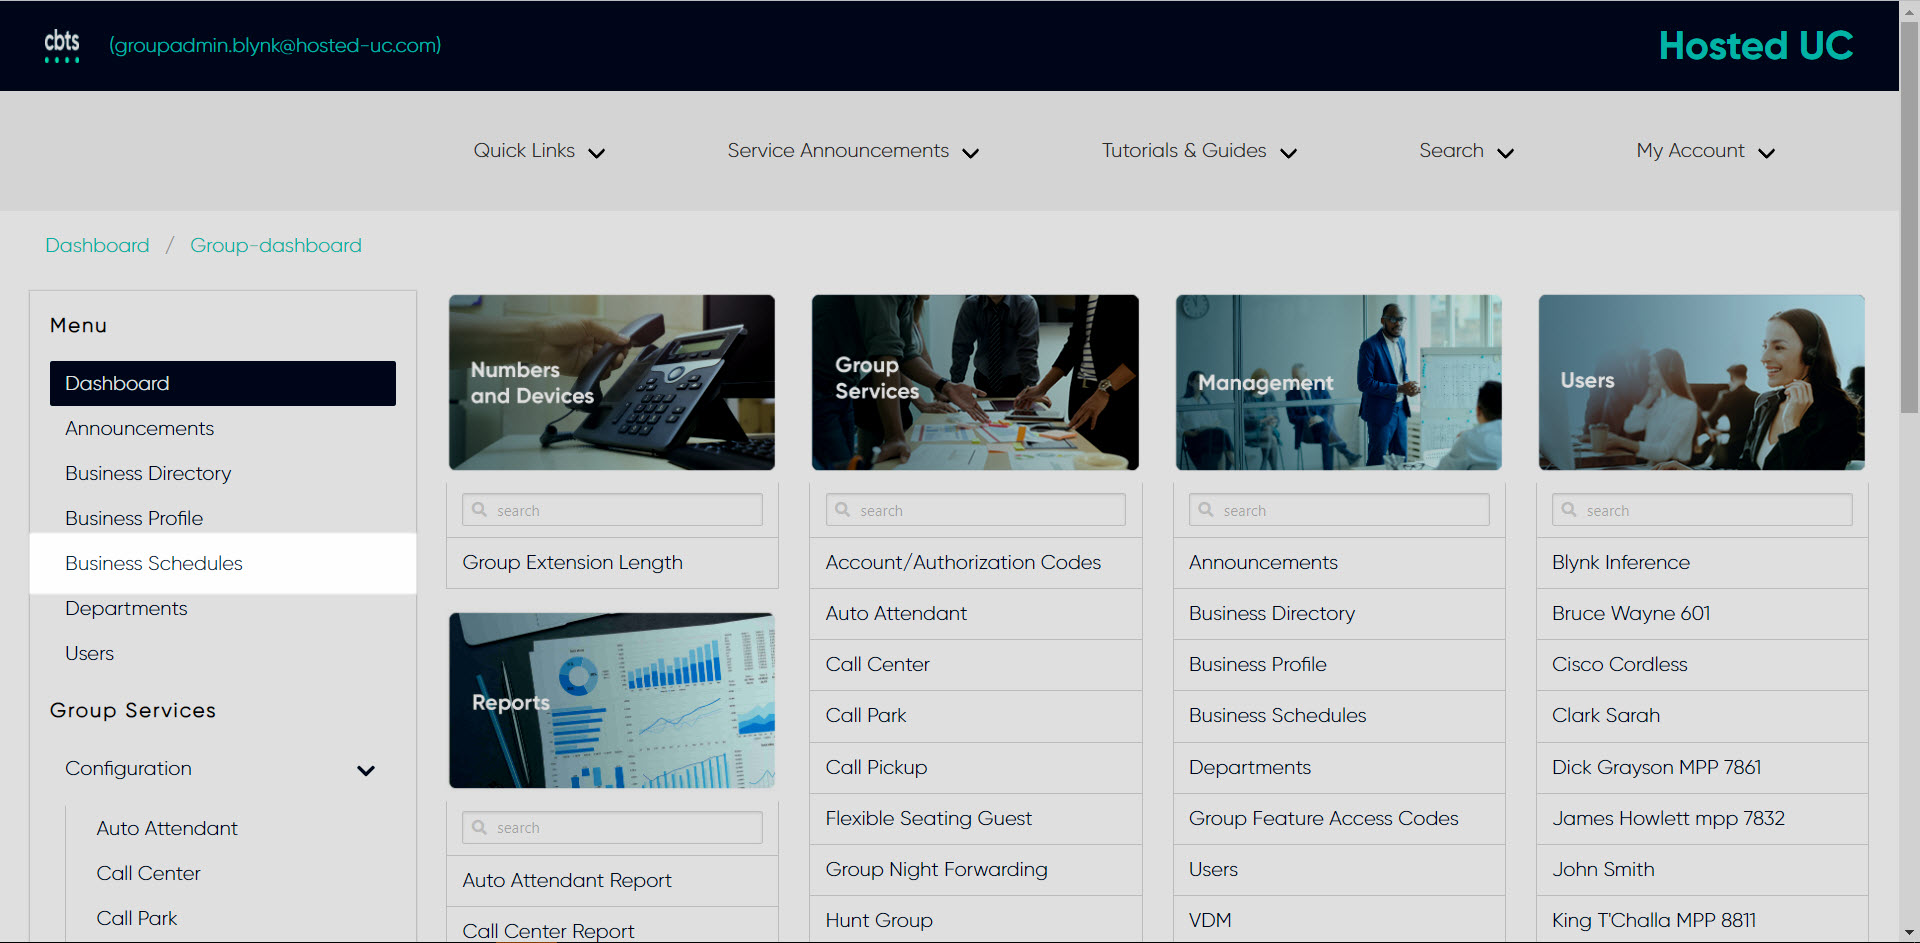
- From the group dashboard, select Business Schedules from the left-hand menu.
- To add a new schedule, select the Plus icon.
- Enter the Name for the schedule.
- Select the Type from the drop-down menu - Time or Holiday.
- Select Save.
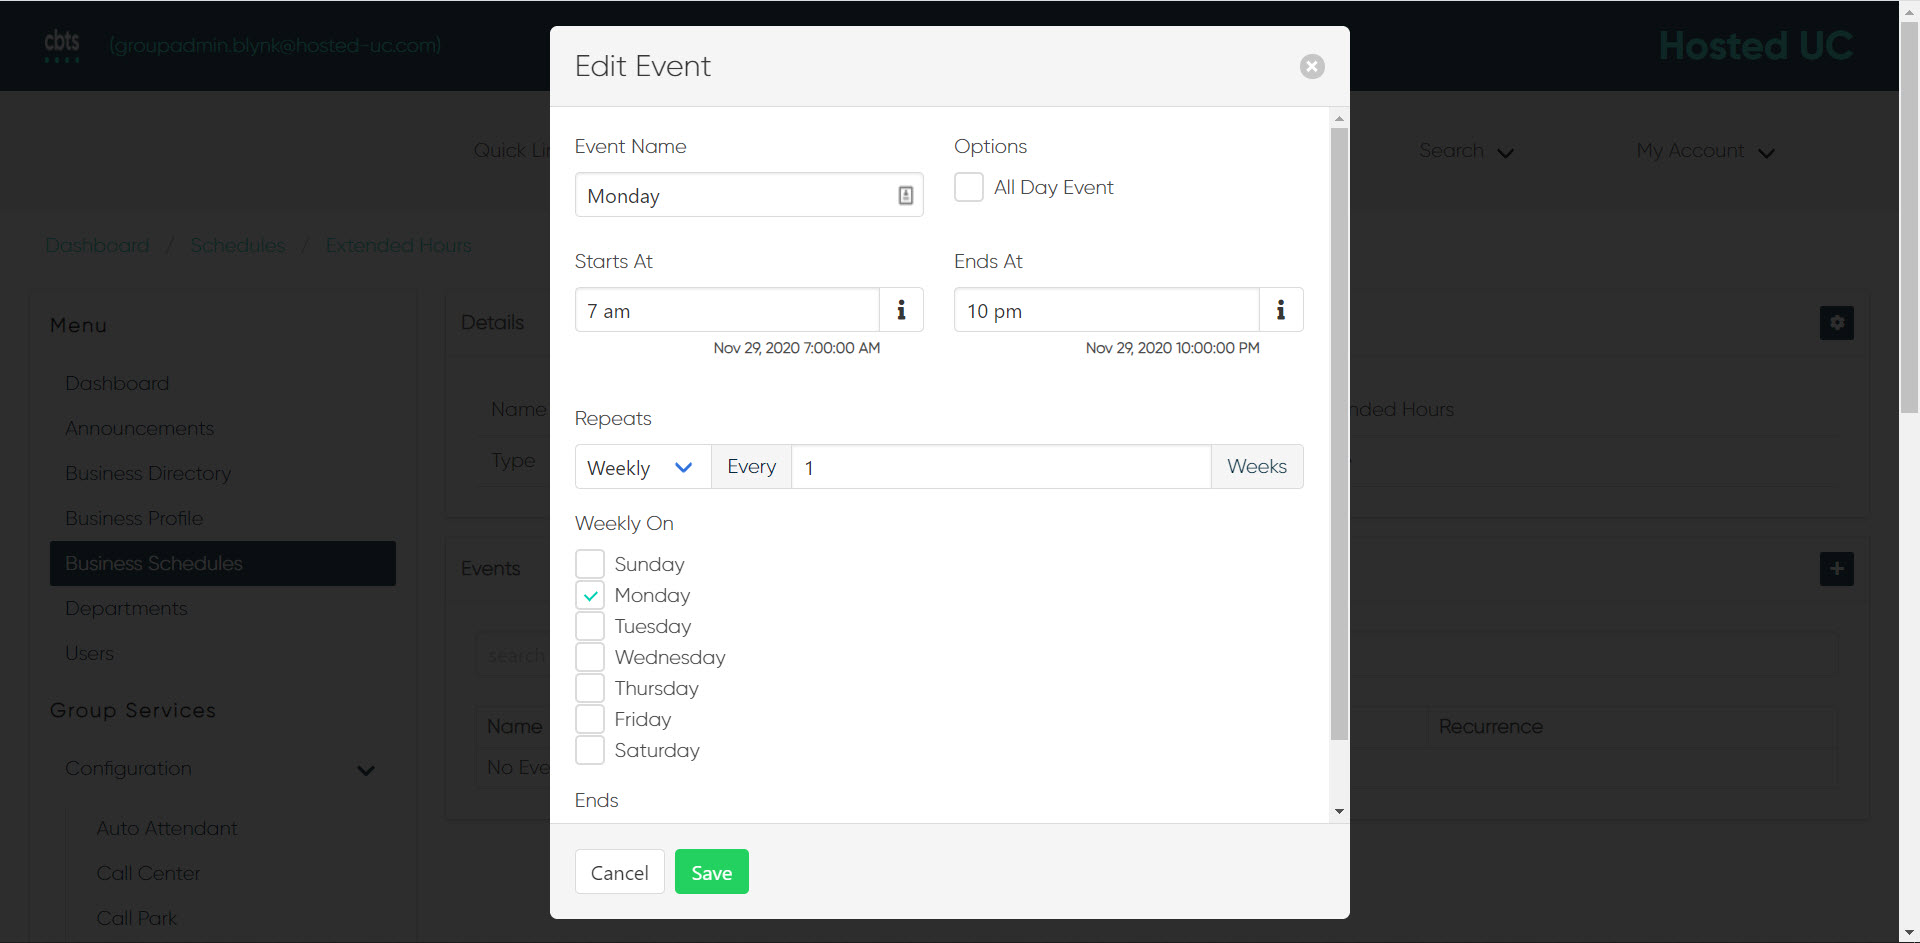
- Once created, you can add Events. Events represent days of the week and times of the day. Under Events, select the Plus icon.
- Enter the Event Name. This is typically the day of the week for the event.
- If this is an all-day event, check All Day Event.
- Enter the start and end times. start date and start time.
- Under Repeats, select the recurrence pattern for this event. For example, you might select Never if this is for a time schedule to route calls for a special meeting. Or, you might select Yearly for a recurring holiday.
- Under Ends, select when the recurrence will end, if applicable.
- Select Save.
Click image for large view

Click image for large view

Click image for large view

Click image for large view
Click image for large view
Modify a Schedule
Administrators will need to update schedules as office hours change or holidays observances are modified.
- From the schedules page, select the schedule you would like to modify.
- Select the Settings icon in the upper, right-hand corner to change the schedule name or to delete the entire schedule.
- To modify a schedule's specific event, select the event you would like to change to expand the Edit Event window. Make any necessary changes and select Save.

Click image for large view