
Music On Hold
An administrator can assign and configure the music callers hear when placed on hold. You can use the default system music/announcement or upload a custom audio file to be played. This guide reviews how an administrator can modify and configure the music-on-hold settings for a group within the admin portal.
Configuring Music On Hold
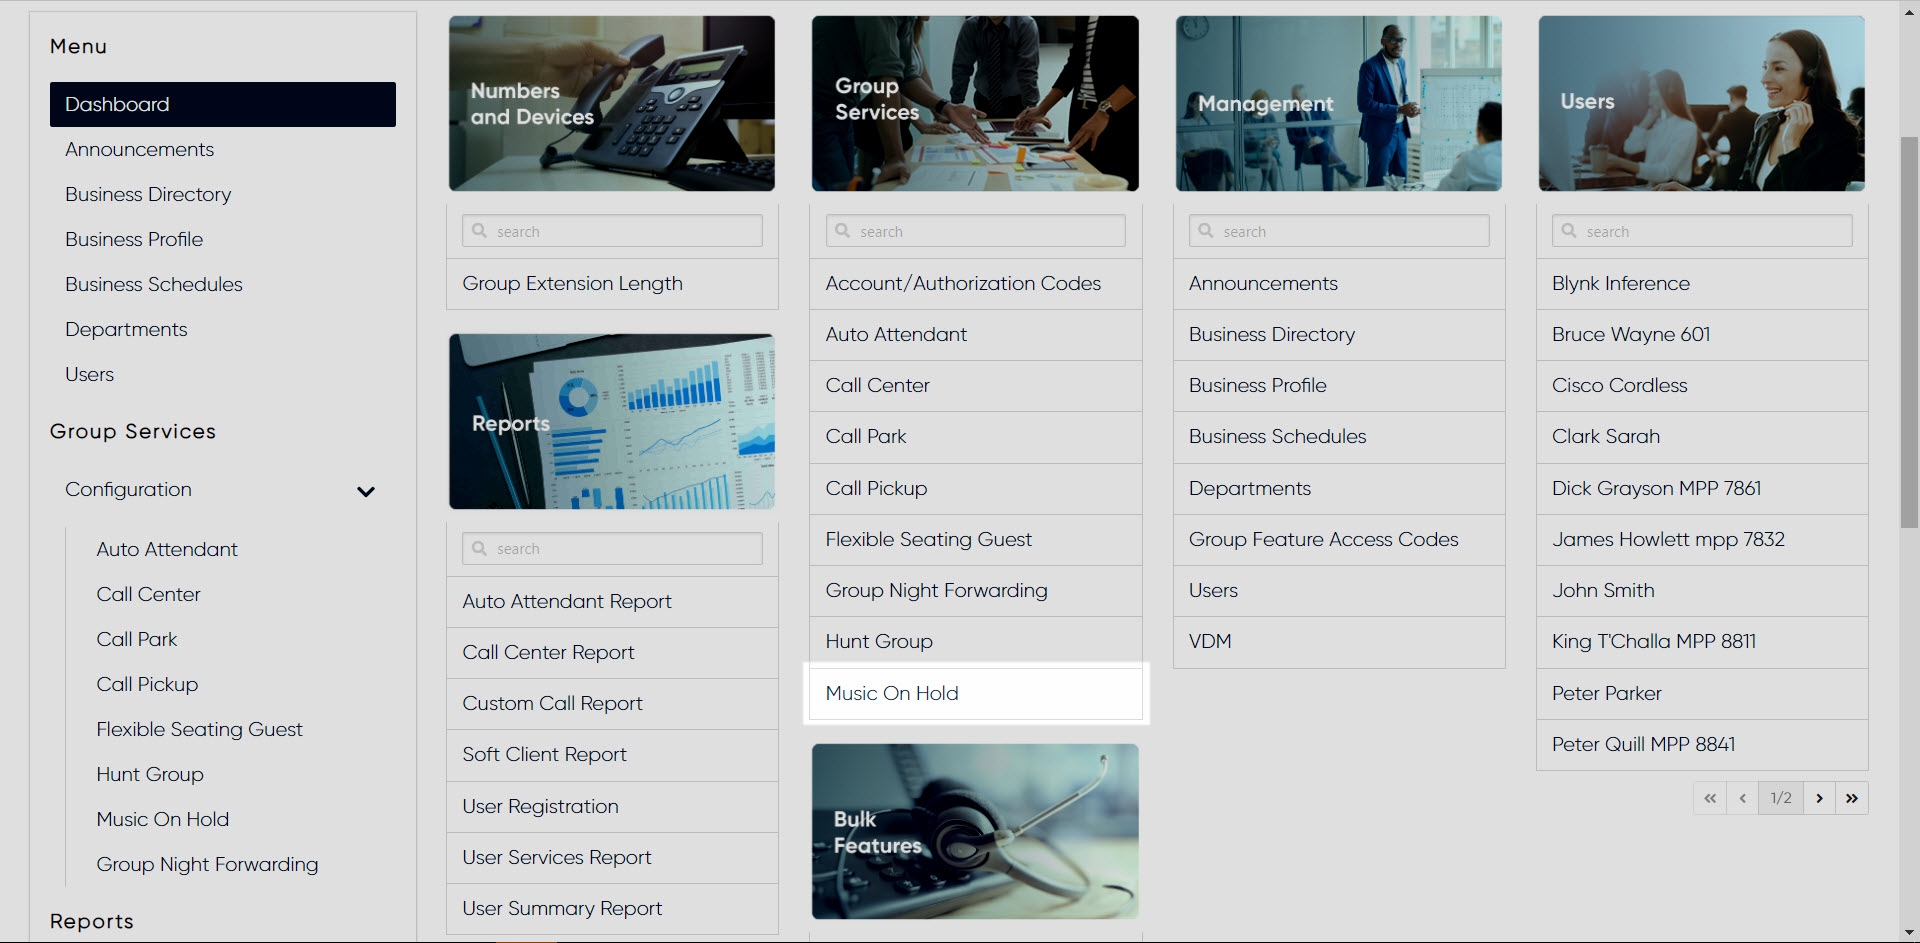
- From the group dashboard, select Music On Hold under Group Services.
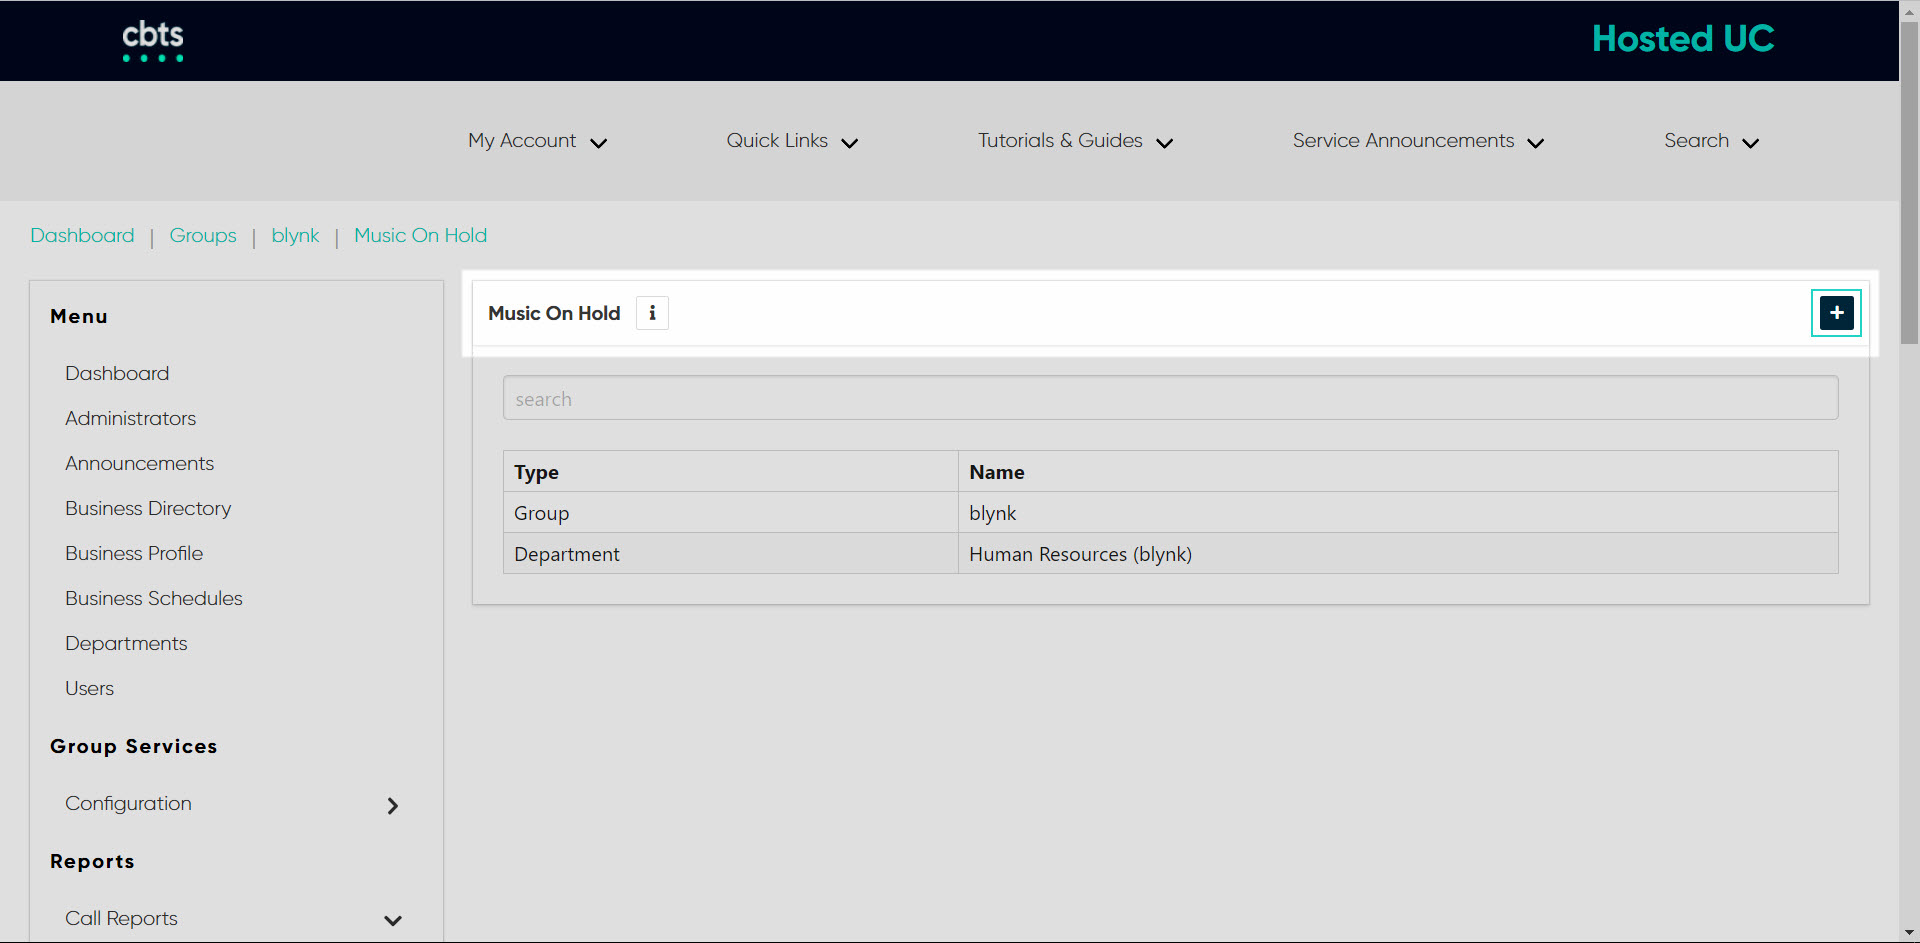
- Here is a list of the music-on-hold profiles that are set up and assigned to the group/location. To modify, click the name of the music-on-hold profile you would like to edit.
- When brought to the next screen, edit fields on each tab - Setting, General Audio, Internal Audio - by selecting the Settings icon.
- To create a new music-on-hold profile, select the Plus icon.
- Select the Department to assign, if applicable.
- Enable/disable to have the music-on-hold file play during any of the following situations by checking the appropriate checkbox:
- Enable During Call Hold
- Enable During Call Park
- Enable During Busy Camp On
- Select Save to save your changes.
- You are automatically brought to the next screen to modify additional settings, as needed. Here is where you can add custom audio, if desired.
- On the General Audio tab, select the Settings icon to modify.
- Here you can choose the following:
- Audio Codec
- Announcement Type
- System
- Custom - If this option is selected, upload a new audio file by selecting the Plus icon or choose from the announcement repository by selecting the List icon.
- External
- Select Save to save your changes.
- On the Internal Audio tab, select the Settings icon to modify.
- Here you can choose the following:
- Audio Codec
- Announcement Type
- System
- Custom - If this option is selected, upload a new audio file by selecting the Plus icon or choose from the announcement repository by selecting the List icon.
- External
- Select Save to save your changes.
Click image for large view

Click image for large view
Click image for large view

Click image for large view

Click image for large view

Click image for large view

Click image for large view