
Download the Hosted UC with Webex App
For Windows and Mac
You can get Webex for your computer, mobile device, or web browser. Install it on multiple devices and switch between them hassle-free. Your content stays in sync because everything is stored digitally. To download the Webex application to your computer:
Note: If you are migrating service from UC-One to Webex, the login sequence below does not apply.
- Go to https://www.webex.com/downloads.html. Your platform is automatically detected. Click the green button to download.
- Once downloaded, launch the installer and follow the instructions on the screen.

If you would like to use a web-based version of this app, go to https://web.webex.com/ for Webex for Web.
For Mobile
You can get Webex for your mobile device. Install it on multiple devices and switch between them hassle-free. Your content stays in sync because everything is stored digitally. To download the Webex application to your mobile device:
- Go to the App or Google Play store.
- Search for Webex.
- Click Get or Open.
- Once downloaded, launch the installer and follow the instructions on the screen.
Sign in for the First Time
To sign into the Webex app:
- Once on the login screen into your email address. Cisco will now send a six-digit verification code to the email address you just entered to verify your account. This will make future logins easier. Locate and remember this code.
- Enter the six-digit code in the appropriate field.
- Next, create the password you wish to use for this account. Once entered and submitted, you should be logged into the Webex application.

Webex Overview
Let’s take a look at some of the main areas of this application:
- People and Spaces List
- Navigation Menu
- Profile and Preferences
- Search
- Messages
- People
People and spaces appear on the left so you can get to them whenever you need to. At the top are your latest active spaces. If you've been added to a new team or space by anyone, you'll see it here too. You will see a bold space name when someone has posted a new message in space.

Switch easily among your message, team, call, and meeting views. Messages appear by default, but your teams, calls, and meetings are just a click away.

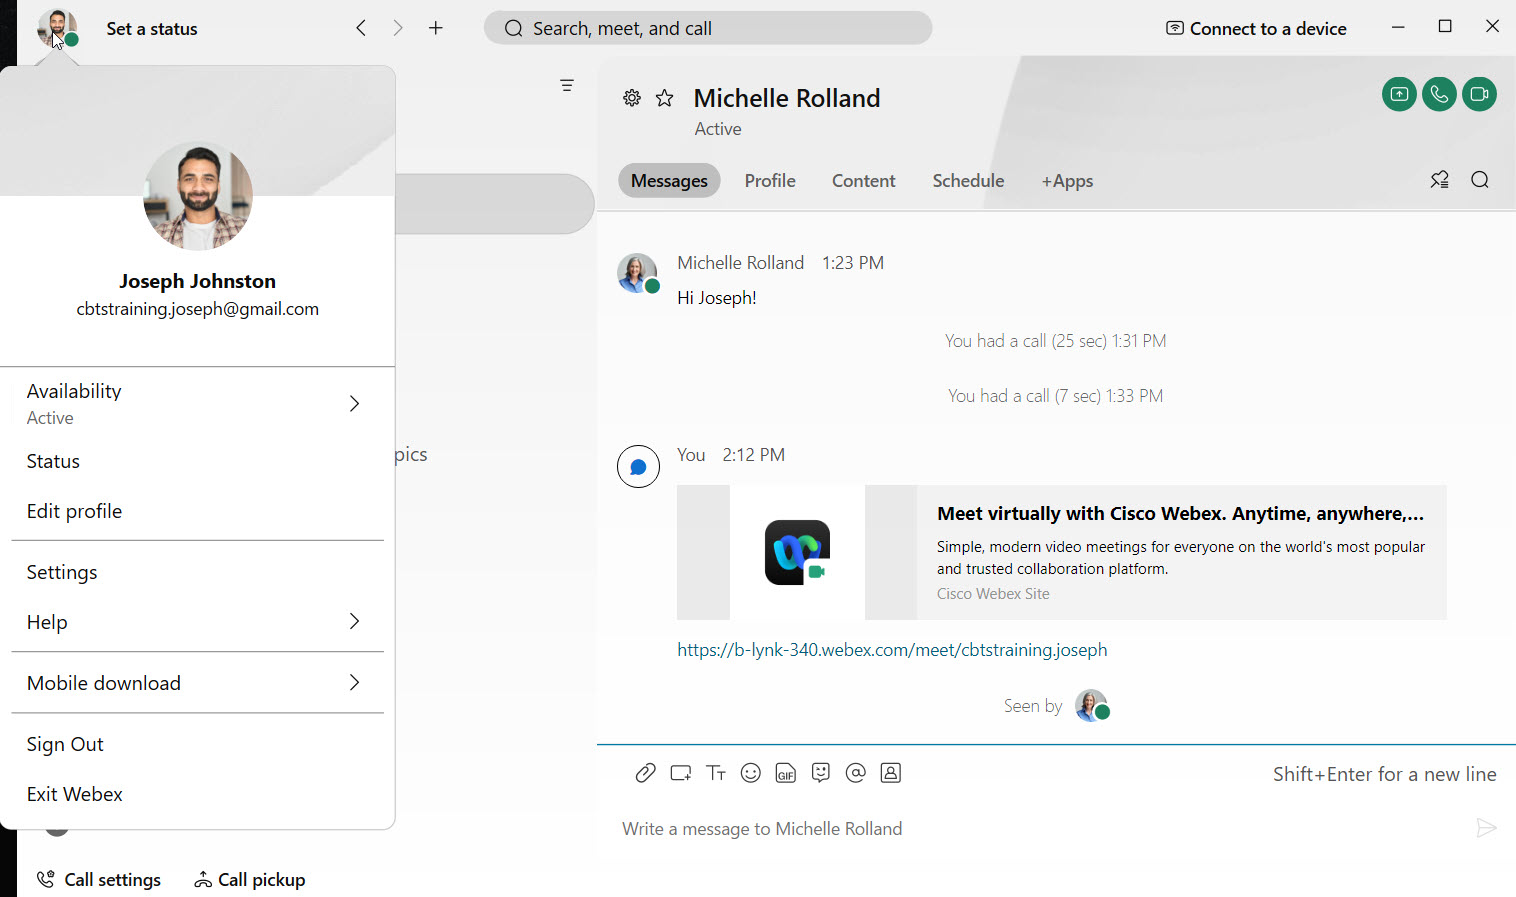
In the app header, click your profile to update your picture or name, access your settings and preferences, and set your availability.
In the app header, just click search, meet, and call to search through the history of your conversations to find people you're talking to, spaces you're in, messages you received, and files you need.
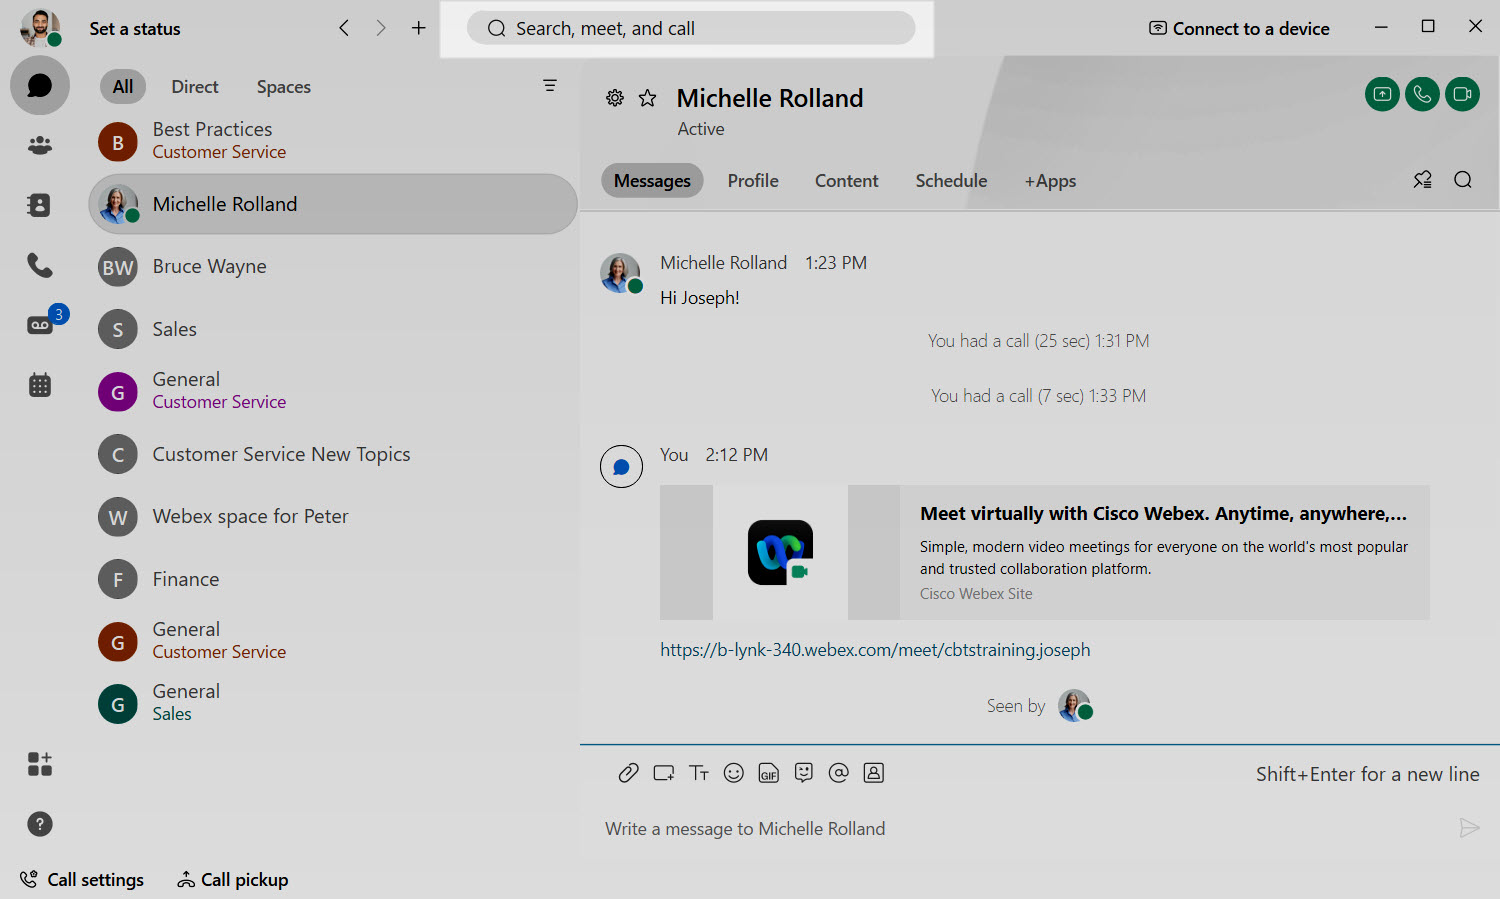
Messages are where you chat with colleagues. We keep these messages secure so you can feel confident sharing your work ideas in Webex.
Allows you to see who's in the space, or if you're a moderator, you can add people to the specific space.

Upload Your Picture
In Webex, make it easier for individuals to identify you by adding an image to your profile. Your profile depicts only your initials within a circle before you upload one. To upload your picture:
- In the app header, click your profile.
- Click Edit profile.
- Click Change picture to browse for an image to upload.
- When you've made your changes, click Save.

Update Your Display Name
You can change the name of your Webex Profile to show your preferred name. To update your display name:
- In the app header, click on your profile picture.
- Proceed to click on your name.
- Click Edit profile.
- Under Display name, enter the name you’d like displayed.
- Then, click Save.

Set a Custom Status
Create and post the status you want so that your friends know what you're up to. To set a custom status:
- In the app header, click Set a status.
- Select a status from the list.
- You can also enter a custom status in the What’s your status? field.
- You can add up to five status options to the list, so they are quickly available.
- Each status has a maximum length of 75 characters and can also include emojis.
